How to Germinate Mushroom Spores
Learning to grow mushrooms from spores is a valuable skill for cultivators that are looking for more genetic diversity in their culture libraries. When growing from spores you can isolate your own strains and fine tune cultures to suit your cultivation methods and goals. You can select for traits like growth rate, yield, tolerance to environmental conditions, appearance and more. In this article you will learn some useful tips and tricks for germinating and propagating mushroom spores.
Needed Supplies
To get started you will need:
- A spore swab, spore print or spore syringe
- Sterile agar plates (how to make agar plates)
- Scalpel
- Flame lamp or lighter
- Sterile grain and substrate for propagation and fruiting (how to make grain spawn)
- Tweezers are recommended but not required
- Heat mat or incubator is also recommended
Collecting Spores
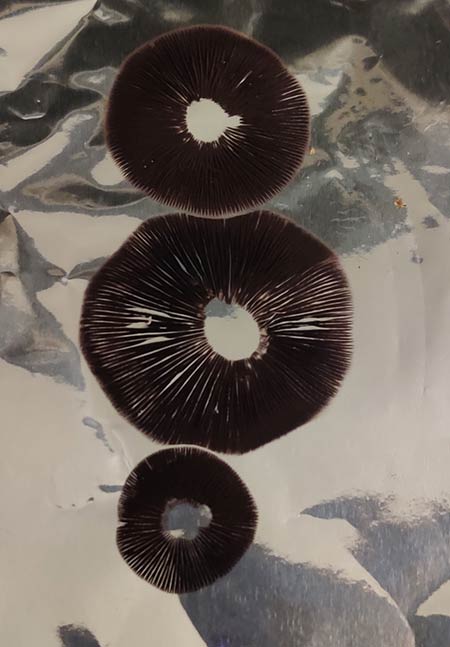
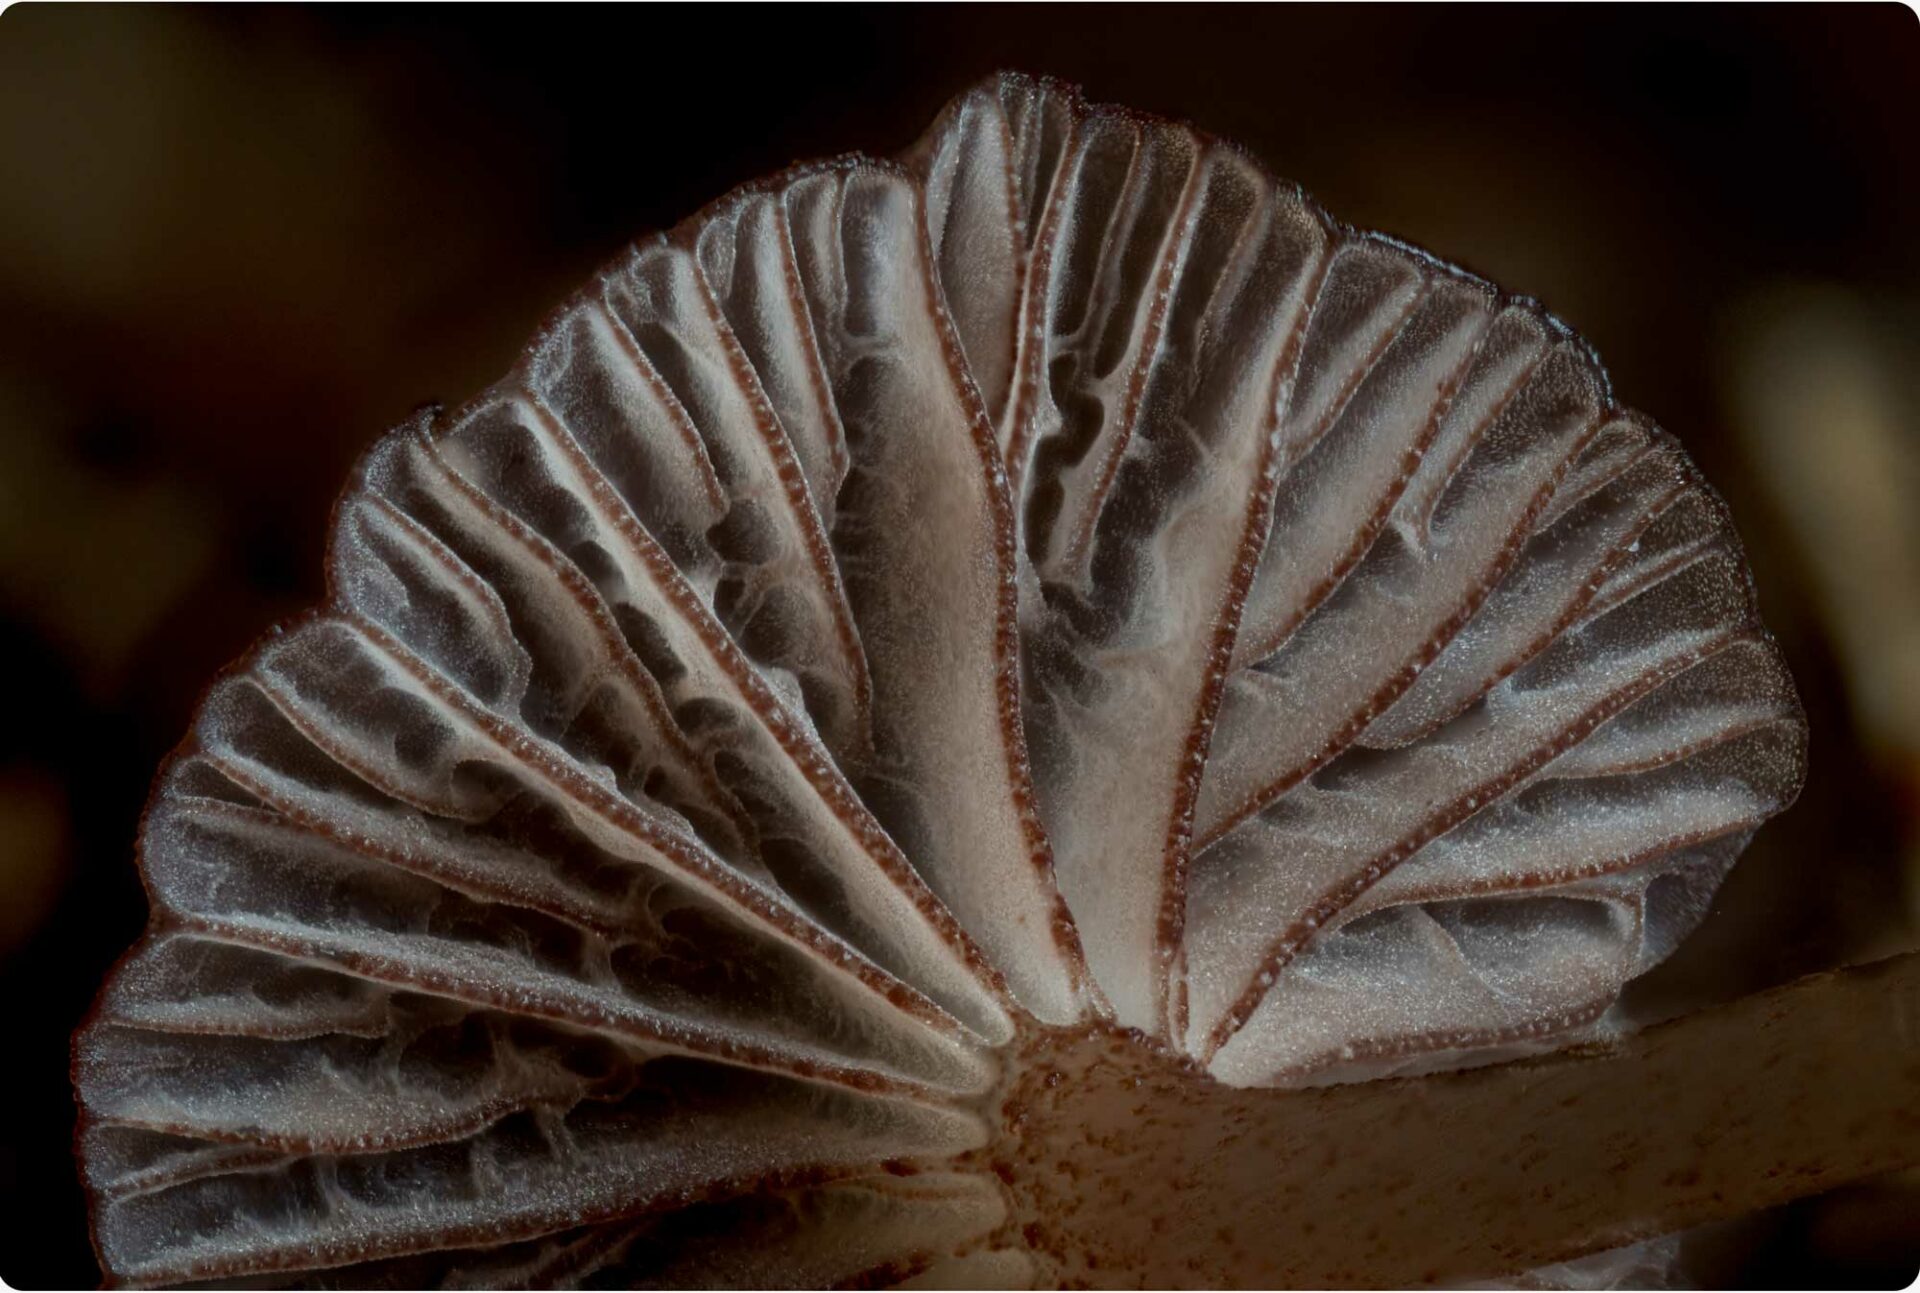
You can buy spore swabs, prints or syringes online or you can collect spores from wild or cultivated mushrooms. Here we are collecting spores from a wild mushroom by gently swiping a Q-Tip across the gills. You can also remove the cap and take a spore print to collect spores for germination.
Germinating Spores
If you have a spore syringe, you can skip the next step and inoculate the spore solution straight into sterilized grain. This tends to work well if the spore syringe is high quality and free of contamination, but it is always a good idea to plate out the spores first if you have the time and supplies available. By plating the spores before inoculating grain you can isolate subcultures and ensure they are free of contamination.
To germinate the spores, start by preparing a clean work area. It is best to work in front of a laminar flow hood for this, but you can also use a still air box. Use clean tweezers to pull off a very small fragment of the spore swab and place it on an agar plate (how to make agar plates). It is best to use as many plates as possible since some of the plates tend to fail to germinate or will be heavily contaminated, especially if you are using spores collected from wild mushrooms. You can also “streak” the plate by streaking the Q-Tip across the surface of the agar, but this tends to use too many spores for my taste. When germinating spores, I prefer to use as few spores as possible on each plate.
If you are using a spore syringe, simply place 1-2 drops of solution on each agar plate.
After your plates are inoculated, seal them with parafilm or store them in clean plastic bags for incubation. Place the plates in a dark, low traffic area at about 70 degrees Fahrenheit. The ideal germination temperature varies depending on the variety of mushroom you are growing, but 70 degrees is typically a good starting point for most varieties. If you increase the temperature, the germination and colonization rates will increase, but you will have to work quickly to ensure you are isolating growth before contamination takes over. You can optionally use a heat mat or incubator to achieve the desired incubation temperature. I am using a heat mat with some cardboard on top to ensure the plates do not get too hot.
Cleaning Up Plates
Check your plates after a few days to ensure they are not contaminated. You should see germination occur within 7-10 days. Some plates may germinate a bit faster or slower depending on genetics and environmental conditions. At this point you will need to check on the plates frequently. If any plate is contaminated and the spores have not germinated yet, it is best to discard the plate to avoid spreading the contaminant. If you see any germinated plates that are contaminated, you will need to transfer a small piece of mycelium to a clean plate. Greenish and black contaminants are typically filamentous fungi, while pale dots are typically bacteria or yeast.
To isolate and “clean up” the culture, flame sterilize your scalpel and cut a small piece of mycelium from the leading edge, furthest away from the contaminant. Try to open the top of the plate as little as possible – just enough to fit the scalpel in. Then quickly transfer the sample to a clean plate and seal it. Discard the contaminated plate and continue monitoring the fresh plate to ensure it is not contaminated. Let the clean culture incubate until the agar plate is mostly covered with mycelium.
Storage and Propagation
Once your plates are nearly fully colonized, it is time to propagate them or store them for future use. Most varieties can be refrigerated for about a year or sometimes longer. To propagate your cultures, you can make grain spawn or liquid culture (how to make grain spawn). This can then be used to inoculate bulk substrates for fruiting the mushrooms. Check out our other posts for detailed guides on making grain spawn, liquid culture, bulk substrates and more.
Thanks for reading and good luck on your mushroom growing adventures!
Latest Articles
Latest Articles
Mycology Glossary: Unlocking the Language of Fungi
Fungi are fascinating organisms, but the world of mycology (the...

Introduction to Mushroom Foraging in the Rockies
Mushroom foraging is a unique adventure that combines hiking, nature...

DIY Mushroom Grow Bags
Intro Growing mushrooms at home doesn’t have to be complicated...

Colorado Mushroom Hunting Resources
Whether you’re just starting your journey into mushroom foraging or...