
DIY Mushroom Grow Bags
Intro
Growing mushrooms at home doesn’t have to be complicated or require expensive equipment. In this guide, we’ll walk you through a simple yet highly effective method for making mushroom grow bags, perfect for compost-loving or coprophilous (dung-loving) mushrooms. This approach ensures consistent results while keeping supplies and setup minimal. Whether you’re a beginner or an experienced cultivator, this method provides a reliable way to grow mushrooms with ease. For an even deeper dive into harvesting, preservation techniques, and expert tips, be sure to check out our Patreon for exclusive content!
Needed supplies
To get started you will need:
- Filter patch grow bags – These specialized mushroom growing bags allow the mushrooms to breathe while keeping contaminants out. I recommend 14A filter patch bags for this method.
- Coco coir – A widely used, effective growing medium for dung-loving mushrooms.
- Grain spawn – High-quality spawn ensures strong mycelial growth. Check out our grain spawn video for a detailed guide on how to make your own.
- Fine mist spray bottle – Essential for maintaining humidity.
- Micropore tape (recommended) – Helps achieve proper environmental conditions.
- Scale (recommended) – Useful for accurate substrate measurements.
- Pressure cooker (recommended) – Necessary for sterilizing the substrate. Alternatively, you can pasteurize your substrate with boiling water.
Each of these supplies plays a crucial role in ensuring a successful mushroom grow. Using high-quality materials, especially grain spawn, will make a noticeable difference in colonization speed and yield.
Substrate prep
The first step is to hydrate your coco coir. There are many different recipes and techniques you can use, but I use a simple formula of dry coco coir multiplied by 5 to get the amount of water needed. For example, if you are using a 600 gram brick of coco coir you will need 3,000 grams or 3 liters of water (600 x 5 = 3000). A common rule of thumb is to hydrate your substrate to field capacity, but I find that this is often too dry for my growing environment.
Hydrating and Sterilizing the Substrate
- Add 115 grams of coco coir to a 14A filter patch bag.
- Add 575 grams (or milliliters) of water to the bag.
- Let it sit for about 10 minutes to allow the water to be absorbed. Mix it periodically by hand to break up any dry chunks.
- Sterilize the substrate for 2.5 hours at 15 psi once the water is evenly distributed.
Inoculation
Let the substrate cool completely before inoculating it with high quality grain spawn. Introducing spawn into hot substrate can kill the mycelium, so be patient. This inoculation can be done in open air, but you will reduce the chances of contamination if you use a still air box or laminar flow hood.
For dung-loving mushrooms, I typically use a 1:1 or 1:2 grain spawn to substrate ratio by weight. For example, if I am using 3 pounds of spawn, I will use 3-6 pounds of substrate. If you use a higher spawn rate you will achieve faster colonization. Using a lower spawn rate will allow you to stretch your grain spawn a bit further but you will typically experience slower colonization times.
Simply break up the grain spawn and mix it with the sterilized substrate. Use about 680 grams (or 1.5lbs) of grain to inoculate 680 grams of substrate. Once thoroughly mixed, seal the top of the bag with paper clips. You can also use chip clips, tape, a heat sealer or another creative solution to seal the top of the bag.
Incubation
Now let your mushroom grow bags incubate in a dark, low traffic area. I recommend incubation temperatures around 70-75 degrees for most varieties of coprophilous or compost-loving mushrooms. Leave the grow bag undisturbed for about 7-10 days then check for signs of healthy growth. You should see white mycelium and no contamination like green or black mold. Let the block incubate until it is fully colonized and white with mycelium. Check on it periodically to ensure it is not contaminated or stalled.
Fruiting Conditions
Once the grow bag is fully colonized it is time to introduce fruiting conditions. This will stimulate the mycelium you have been cultivating to form mushrooms. With the grow bag method, fruiting conditions are simple to achieve. All you need to do is open the bag periodically to let in fresh air and expel CO2. The more fresh air you introduce, the faster it will dry out so you will need to spray it with water often to ensure condensation is always present. Typically, you will need to mist and fan the block about once per day so that there is enough fresh air and moisture is always present, especially when the mushrooms are first starting to form.
Some varieties require less fresh air and grow well without opening the bag at all until they are ready to harvest. Other varieties need more fresh air to start producing mushrooms. In this case, I prefer to remove the filter patch or cut holes in the bag for more airflow. Cover the holes with micropore tape to reduce the risk of contamination. I recommend experimenting to find a balance that works well for the environmental conditions and genetics you are working with.
Important tip: Avoid spraying the mushrooms and mycelium directly. Instead spray the sides of the grow bag only. Spraying the mushrooms and/or substrate directly can cause issues and invite bacteria and other microbes to grow.
Check the grow bag daily for signs of growth. You should see baby mushrooms, also known as pins, start to form about 1-2 weeks after fruiting conditions are introduced.
Harvest
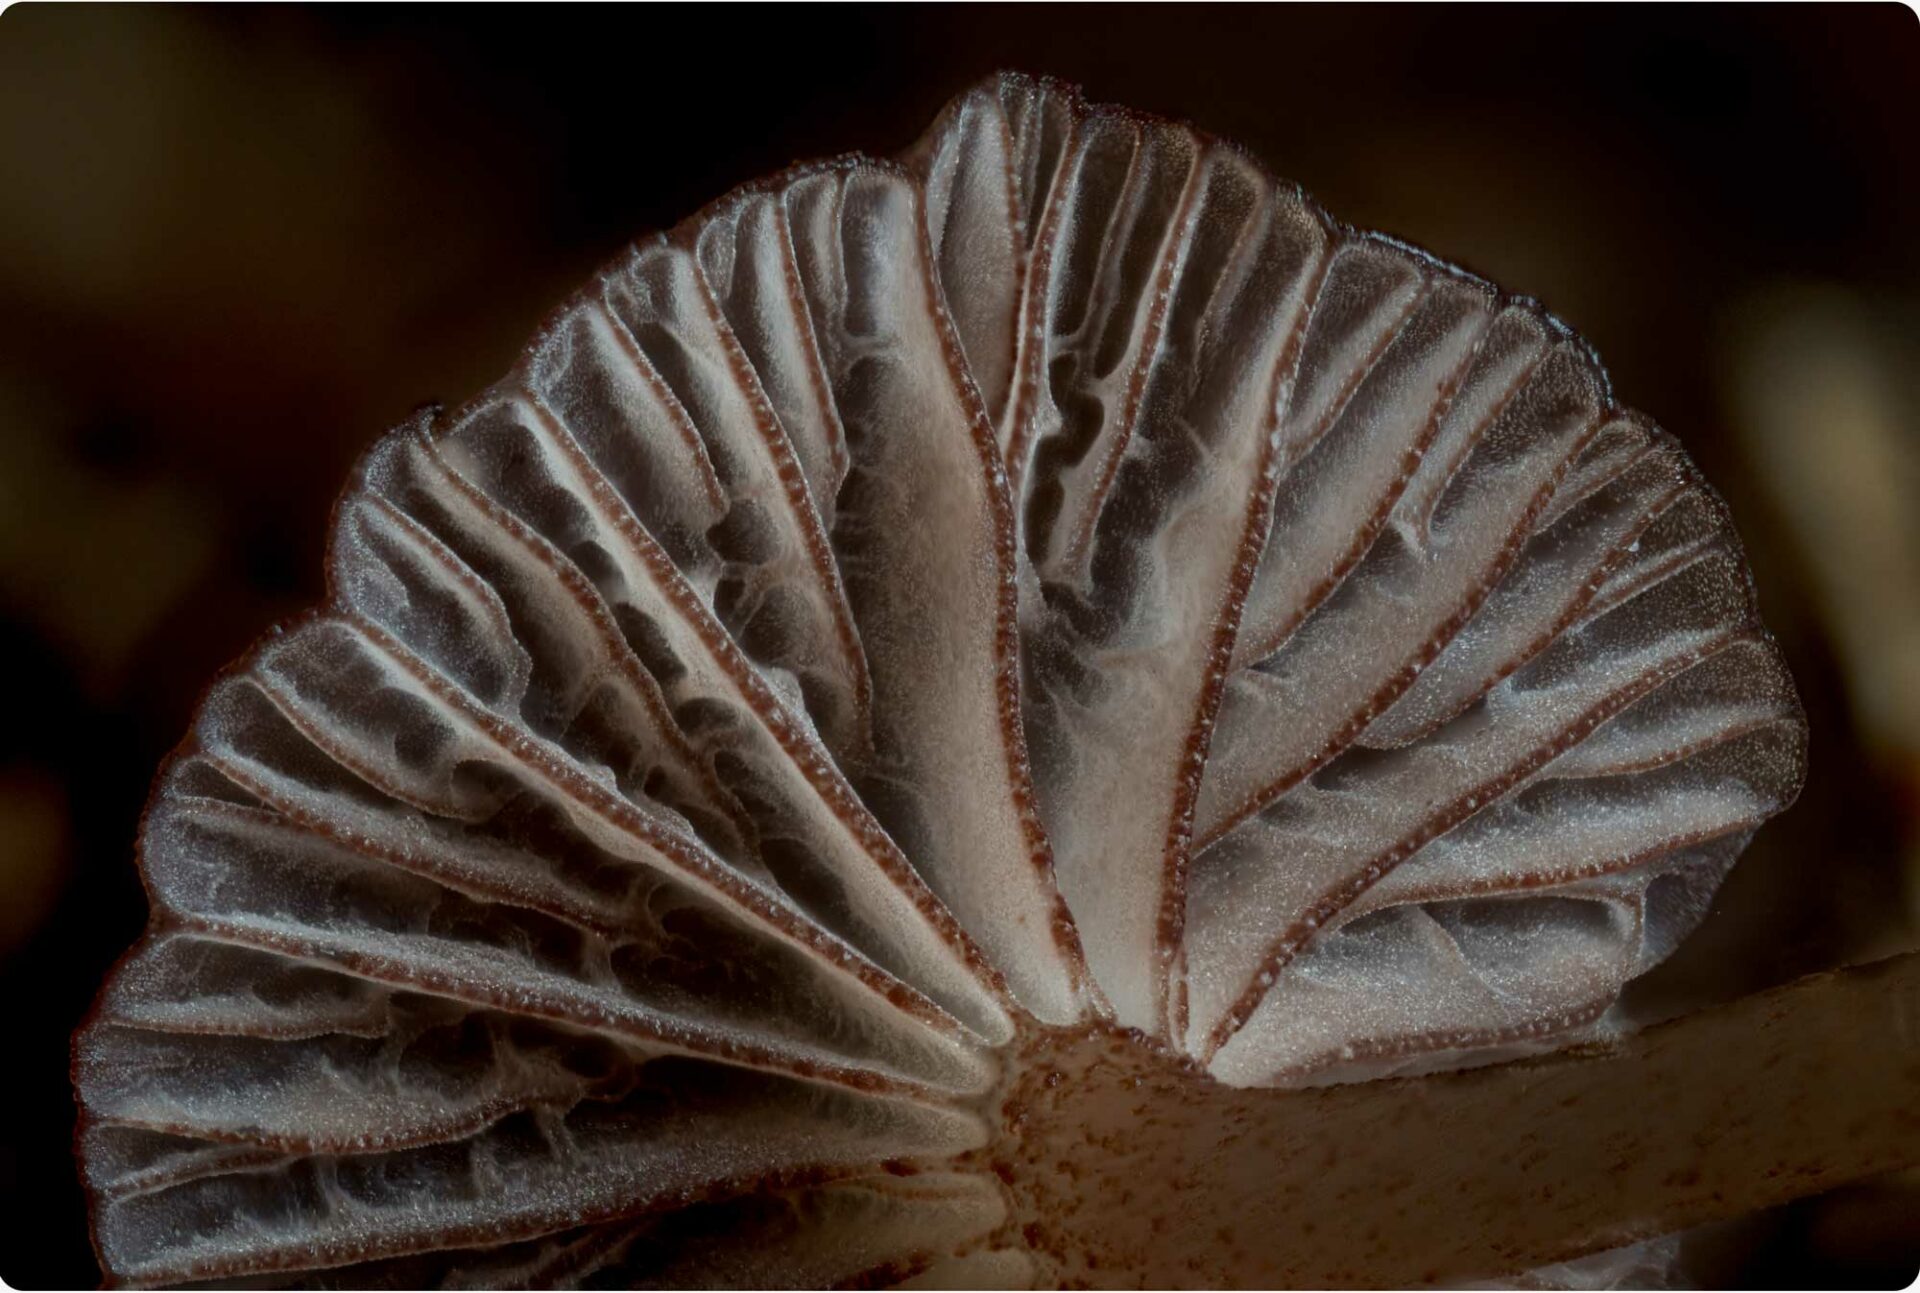
When you spot pins in your grow bag, be ready to harvest, as they typically reach full maturity in just 5-7 days. Ideally, you should pick the mushrooms just before the veil separates from the cap, but some growers prefer to harvest right after the veil pulls away. Either way, mushrooms grow rapidly at this stage, making it challenging to harvest them all at the perfect moment. The key factor in determining maturity is the veil, not the mushroom’s size. For example, although a mushroom is smaller, if its veil has opened, it is ready for harvest. Join our Patreon for a detailed demonstration of harvesting.
When the mushrooms reach the desired maturity, gently twist and pull to harvest. You can also cut the mushrooms at the base of the stem, but I prefer to twist and pull because it keeps the substrate free of debris.
After harvesting, thoroughly spray the grow bag with water and reclose the top of the bag with a paper clip. Repeat the same fruiting and harvesting process for more flushes. You can typically get 3 or more healthy harvests from one grow bag!
Preservation and Storage
You should dehydrate the mushrooms immediately to preserve their potency. Cut the substrate from the stem bases and place the mushrooms in a food dehydrator. I typically dehydrate at 110 degrees for 24 hours. Make sure the mushrooms are completely cracker dry before removing them from the dehydrator. Store the mushrooms in an airtight container with a desiccant in a cool, dark place to maintain freshness and potency. They will stay good this way for a very long time. Check out our other guides on how to use dehydrated mushrooms to make mushroom tea, chocolate, extracts and more!
Take a look at our online store for filter patch bags, spawn and other mushroom growing supplies. Thanks for reading!
Latest Articles
Latest Articles
Mycology Glossary: Unlocking the Language of Fungi
Fungi are fascinating organisms, but the world of mycology (the...

Introduction to Mushroom Foraging in the Rockies
Mushroom foraging is a unique adventure that combines hiking, nature...

Colorado Mushroom Hunting Resources
Whether you’re just starting your journey into mushroom foraging or...

Step-by-Step Guide to Cloning Mushrooms
As you become more experienced in mushroom cultivation, you may...